"Like" my Facebook page for more pictures & updates

Showing posts with label Evelin Discovers. Show all posts

Wednesday, 18 June 2014

I heart Coleto

I have always been a sucker lover of stationery and when my dearest IG friend mentioned about these yummy Coleto pens, I had to get them. She was so kind to purchase them for me on her recent trip to Japan and what can I say... I am now officially in love with them.

Truth be told, as much as I wanted them (pretty badly too.. haha), I am not a big fan of multi-pen. I don't know why but they just don't attract me very much. However, these do look pretty cute and Sam told me she loves them. That is enough to get me sold. I trust her taste in stationery :)

I bought 3 barrels in pastel colors and the limited edition clover refills

Sweet, sweet colors :)

The ink glides smoothly on my Moleskine, planner, normal paper.... basically anything I wrote on so far. I love the colors too and well, the little clover design is just the tiny detail that made me love it even more. 

If you don't have a sweet friend to buy it for you from Japan but still would love to get your hands on some, I found out that Jetpens has them too. They my not have the clover refills but they do have everything else. Oh, and I love Jetpens for my stationery fix!

Wednesday, 4 June 2014

Happy Totoro Mail

Everyone loves a happy mail, right? I know I do. I love checking the mailbox to see if there's any happy mail (even if I know there isn't going to be any.. haha). I guess this stems from days when I was actively writing pen pal letters and post crossing.

And I do love Totoro. For those who don't know who or what Totoro is... well, he is a mythical creature or "keeper of the forest" created by Hayao Miyazaki in his film "My Neighbour Totoro". I find the movie endearing and Totoro found a place in my heart since I first watched it more than 10 years ago.


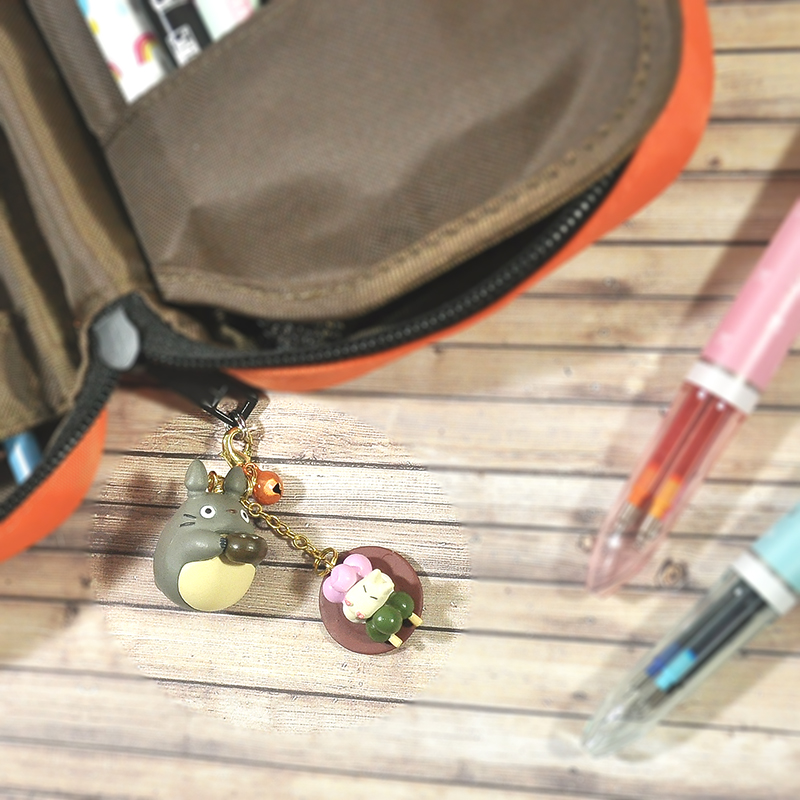
When my dearest IG friend told me she was going to Japan, I asked if she could help find me a totoro keychain and she was really sweet to hunt it down for me. I was so happy anticipating my happy Totoro mail and am so glad to hold him in my hands :)

* Thanks, Sam! *

Totoro found a place on my pencil case. It holds a lot of my favorite stationeries.

I love you, Totoro!

What kind of happy mail makes your day? Do drop a comment and share it with me. I would love to know.

Monday, 2 June 2014

Banana Blueberry Honey Yogurt Muffins... yum!

The first time we had a banana blueberry honey yogurt muffin was at Starbucks. I thought that was a healthy choice for a toddler to munch on while we waited for Daddy to have a discussion. Ryan loves the muffin and ate a lot of it (I love it too, although I only got to eat some of it...)

Do I look cute?

Big bite! 

So when we got home, I set out to search for a recipe that could give me kind of muffins I had at Starbucks... you know, moist and delicious? I baked muffins following some recipes that had really good ratings before but they didn't turn out moist and was a little hard so I was hoping this time I would get lucky.

I found a recipe for The Awesome-est Blueberry Yogurt Muffins on The Pioneer Woman's blog which was the closest to what I wanted and decided to try it. 

First attempt was...... not very good. I think maybe I used Greek Yogurt which was not as watery as normal yogurt and maybe my oven is too hot because my muffins came out a bit hard even though I added almond milk to water down the batter a little.

Today, I decided to try the recipe again and I tweaked the recipe even more and it was a SUCCESS! The muffins came out so moist, just like what I had in Starbucks (imagine a huge smile on my face!)
They look so good, the color and the texture...

I love the golden brown color on the crust

It's really very moist (& delicious)

Ryan approves of the muffin. He already finished his dinner when the muffins came out of the oven but after he tried a little, he kept asking me for more. I think he finished almost the whole muffin (pictured above).

So, here's my version of the recipe I found on The Pioneer Woman's Blog.

Banana Blueberry Honey Yogurt Muffins

3 cups minus 2 tablespoons multipurpose flour
1 teaspoon baking soda
2 teaspoon baking powder
A pinch of salt (I only used a little as these are mainly for Ryan)
1 cup organic brown sugar
1/2 cup extra virgin olive oil 
1 egg
2 cups organic Greek yogurt
3 cups blueberries
2 bananas (sliced)
1/3 cup honey

- Preheat oven to 375 degrees.
- In a large bowl sift flour, baking soda, baking powder and salt. Set aside.
- In another bowl, whisk together brown sugar, oil, egg, yogurt and honey. Add the dry ingredients and stir (I added one cup of the dry ingredients at a time, stir until mixed and then repeat until the dry ingredients are all used up). 
- Add blueberries (reserving 1/2 cup) and bananas to the mixture and mix well.
- Add mixture to muffin cups (I use silicone cups from Ikea). 
- Sprinkle remaining berries and press down lightly. Sprinkle some brown sugar over the top to add some crunch to the crust.
- Bake 20-25 minutes, and allow to cool completely (I baked for 22 minutes, then turned off the oven and kept the muffins inside for another 5 minutes before taking it out).

If you do try out the recipe, let me know how you like it :)

Enjoy!

Friday, 23 May 2014

Cork Embellishments

Before I started Project Life in 2013, I was just starting to get into scrapbooking. I wanted to preserve memories and I love how beautifully scrapbooking makes that. However, I wanted to remember daily bits and pieces too and Project Life made that so much easier :) I would still scrap big events but for our everyday life, I prefer the Project Life method.

And because of that, I am always on the lookout for embellishments that I could use to jazz up the little 3x4 or 4x6 cards. Embellishments that are pretty and yet does not add too much bulk (else it wouldn't fit in the pockets.. haha).

So when I saw that Studio Calico was selling these DCWV cork sheets, I knew I wanted to make some cork shapes for my Project Life pages. I bought my supplies and then I procrastinated (that and I needed new scissors. My old cutter bee basically destroyed my first batch of cork shapes).


I use Memento Tuxedo Black, PTI's vintage cream and Hero Art's Fresh Peach. You've got to wait a a little for the ink to set before handling them (else you get inky fingers... like me). Alternatively, you could heat dry them with heat gun. I want to try embossing them. I think that would be pretty too.


And you would need very sharp scissors to cut these babies. I used my old cutter bee and it was a disaster. The shapes frayed and turned out really badly. These were all cut after I bought a new pair of cutter bee.. So, do take note of that.

If you like any of these and don't have the time to make them, you could custom request and I will make and list them in my shop for you to purchase.

Monday, 14 October 2013

Tutorial : Using a Blender Pen

Sometimes we remember an awesome product we once used .... and my blender pen is one of such thing!

I was stamping some cute images from Lawn Fawn the other night and was contemplating on what to use to color them. I wanted it to have a watercolor-ish effect but I don't have any distress markers.

But I do have a blender pen and color pencils :)

So, here's a step-by-step on how I use the blender pen to create an effect similar to what distress markers could.


1. Stamp your chosen images. Here I chose Lawn Fawn's Into the Woods cute little animals.


2. Color your images with color pencils.


It's not necessary to make sure they are very evenly applied. Add in darker shades wherever you need them.


3. Here's where the magic starts.


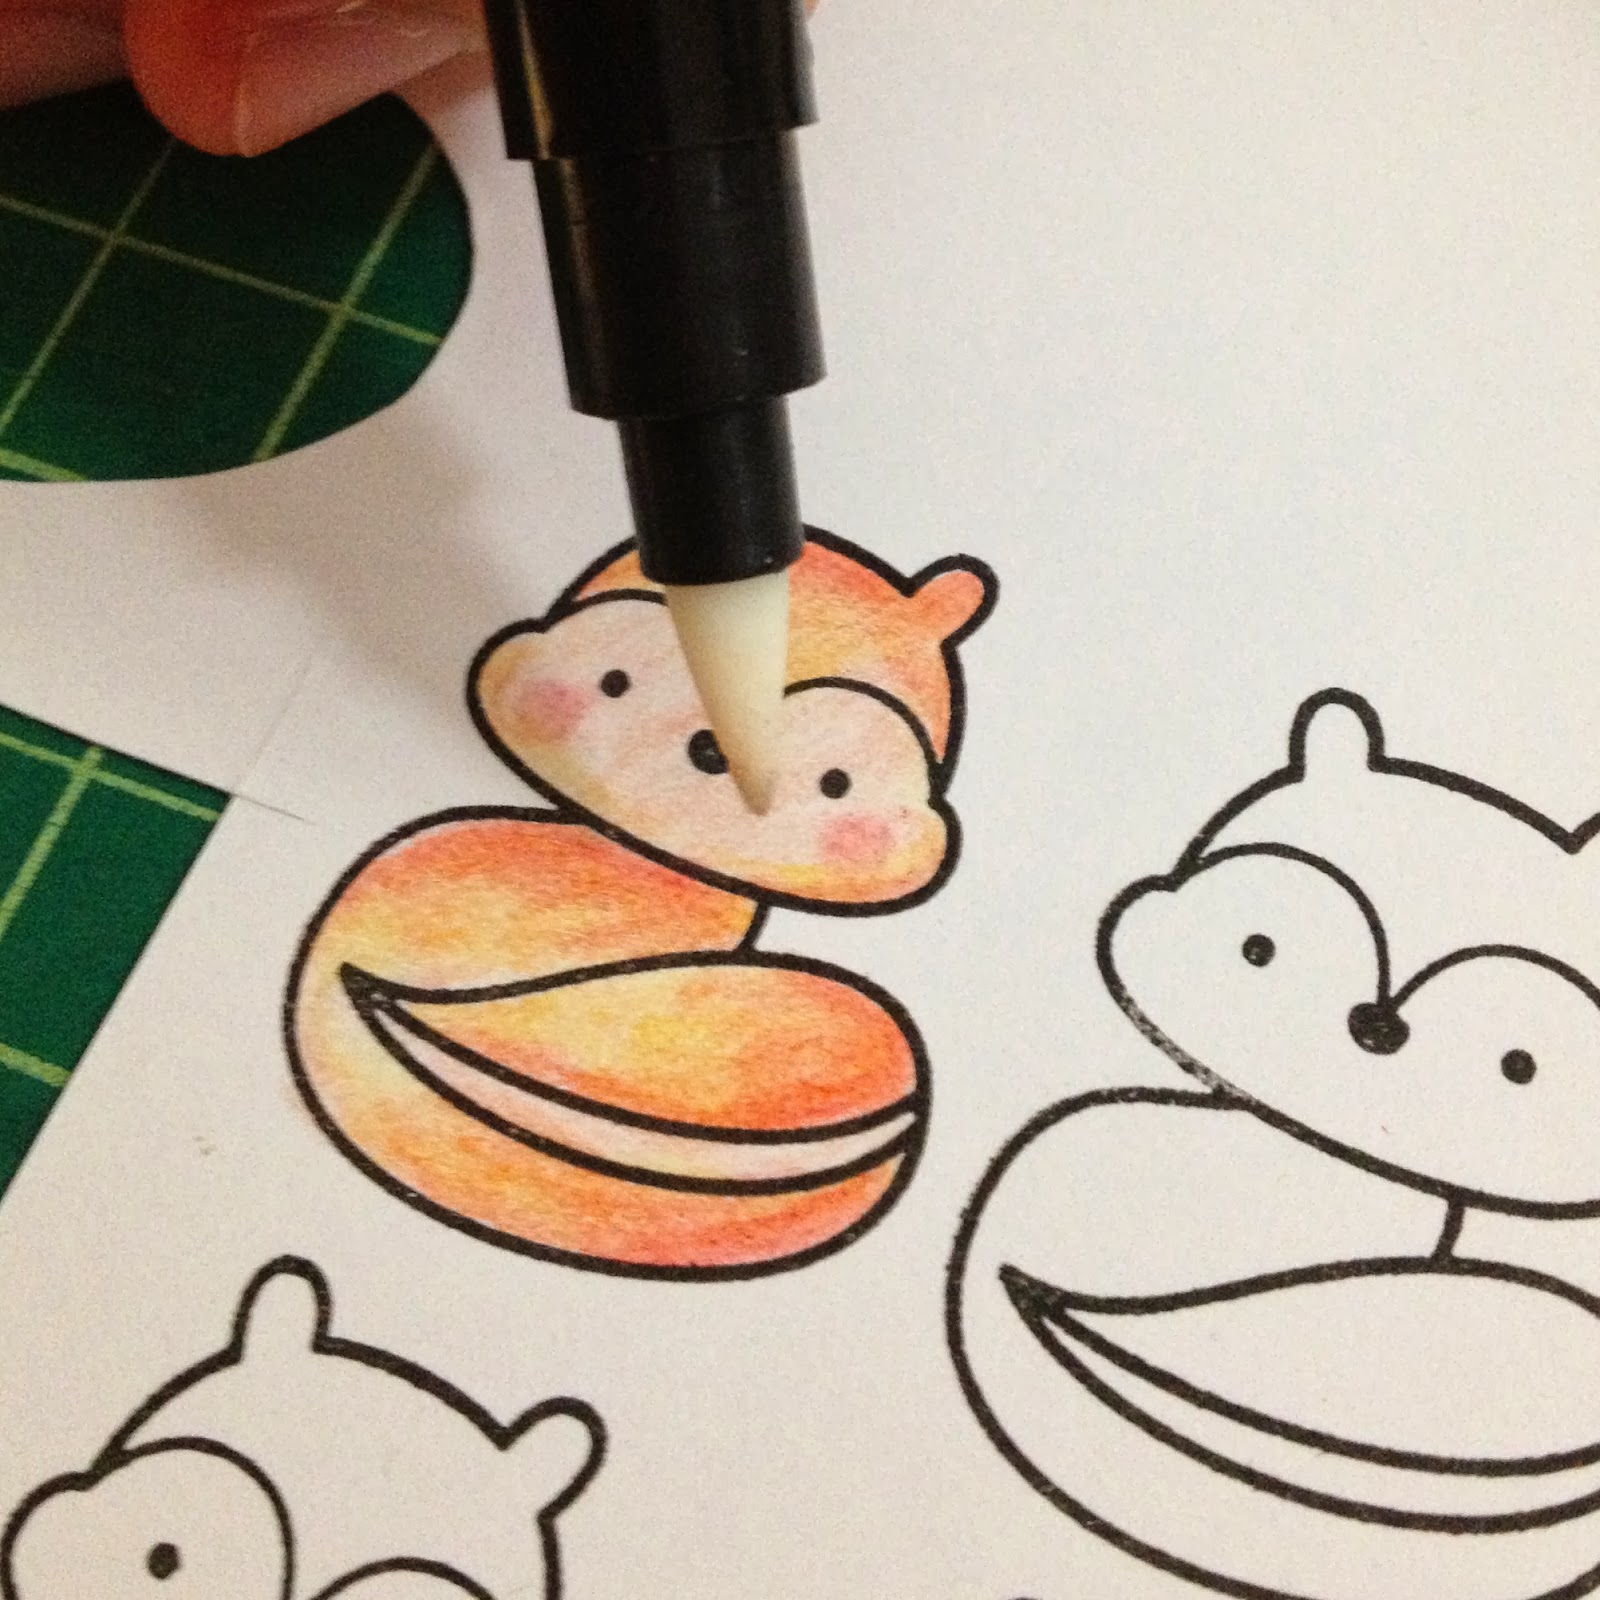
4. Using the blender pen, 'color' the lighter colored areas first.


5. Clean the tip of the blender pen and then blend the darker colored areas into the lighter ones. If the color is too dark, clean the tip of the pen again by lightly dabbing it on a piece of tissue.


6. Voila! The image is perfectly & evenly colored with shadings and depth :)

Hope you enjoyed this little tutorial. Quick, easy and fun!

Next up, I will be sharing a tutorial using masking gum and watercolor. You will want to keep your eyes out for that!

Eve